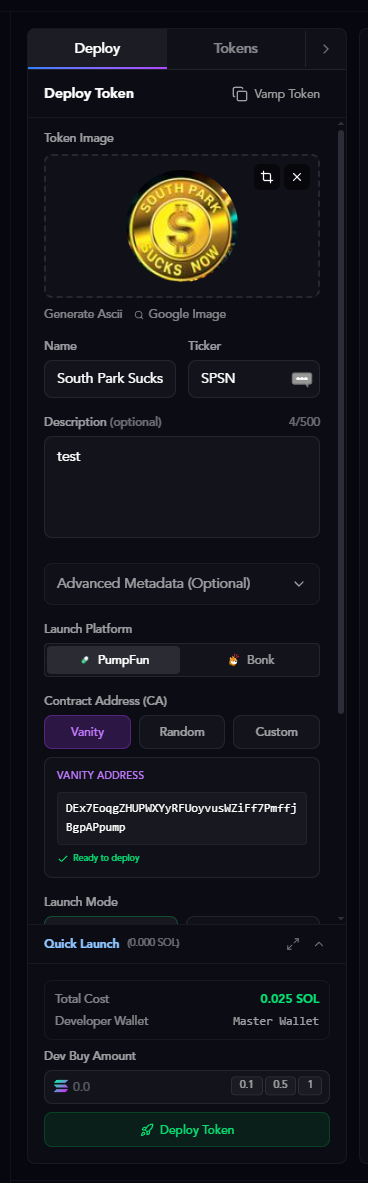
Token Information
Token Image
Upload or generate your token’s visual identity. Options:- Click to upload: Upload your own image (JPG, PNG, or GIF)
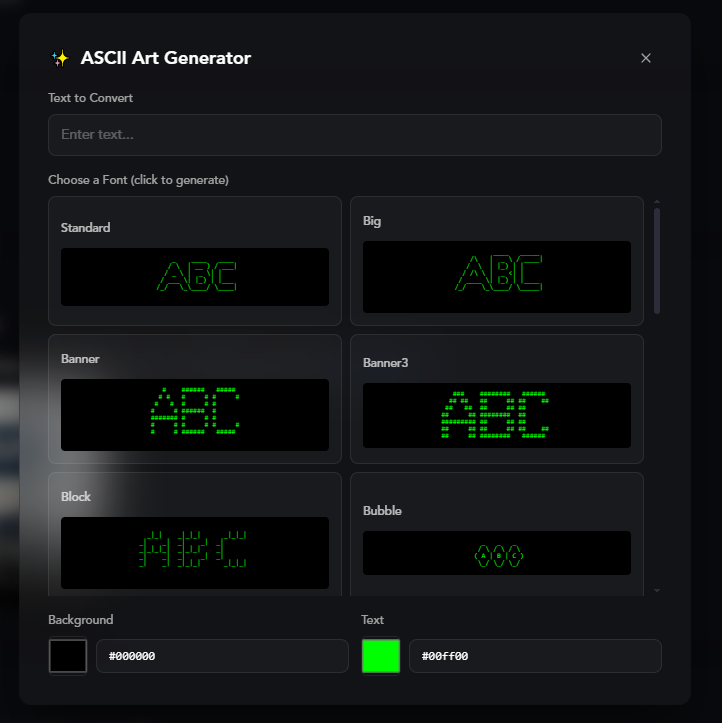
- Generate Ascii: Create AI-generated ASCII art for a unique look
- Google Image: Search and use images from Google
Searching Google Images
Click the Google Image button to search for images directly.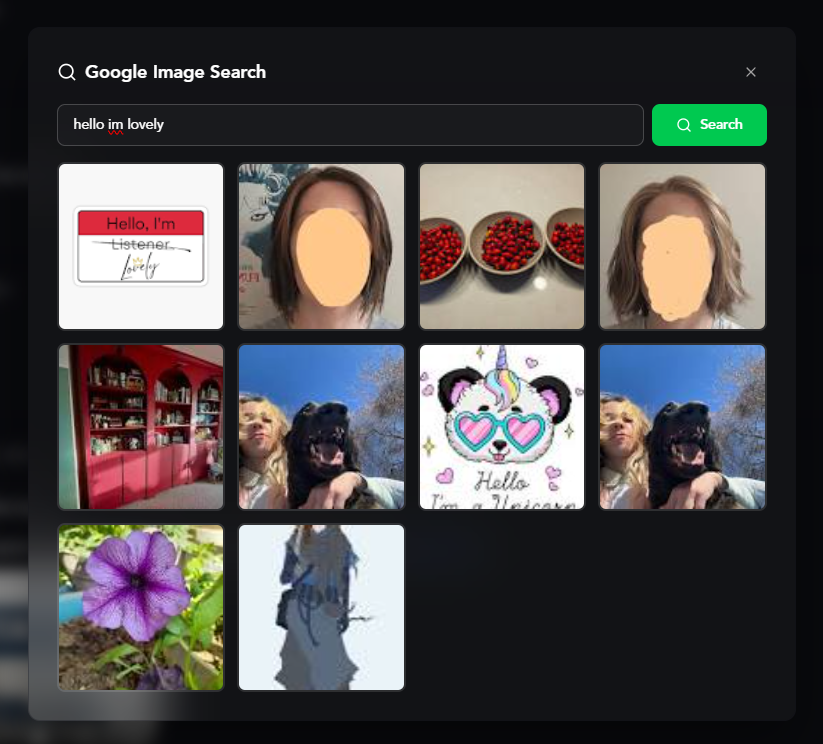
Cropping Your Image
After uploading or selecting an image, you can crop it to fit perfectly.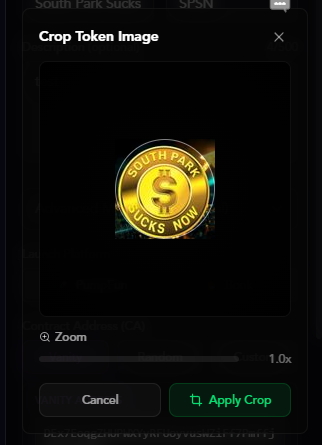
Token Metadata
Fill in your token’s basic information:- Name: Your token’s full name (e.g., “South Park Sucks”)
- Ticker: The token symbol (e.g., “SPSN”) - use the shuffle button for random suggestions
- Description (optional): Brief description of your token (0-500 characters)
Vamp Token
Copy metadata from an existing token instantly.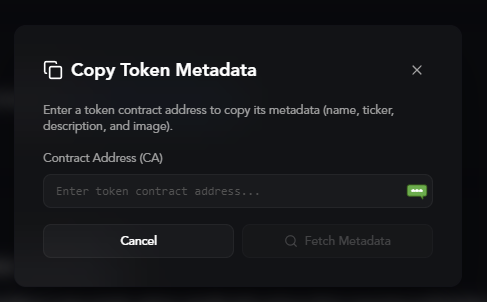
Advanced Metadata (Optional)
Add social links to your token’s metadata:- Website: Your project’s website URL
- Twitter: Your Twitter/X handle or URL
- Telegram: Your Telegram group or channel URL
Launch Configuration
Launch Platform
Choose where to deploy your token:- PumpFun: Most popular Solana token launchpad
- Bonk: Alternative launch platform
Contract Address (CA)
Choose how your token’s contract address is generated:- Vanity: Generate an address ending with your platform tag (e.g., ends with “pump”)
- Random: Completely random contract address
- Custom: Use a custom private key to control the contract address
Launch Modes
Standard Launch
Deploy a token using only your master wallet as the developer.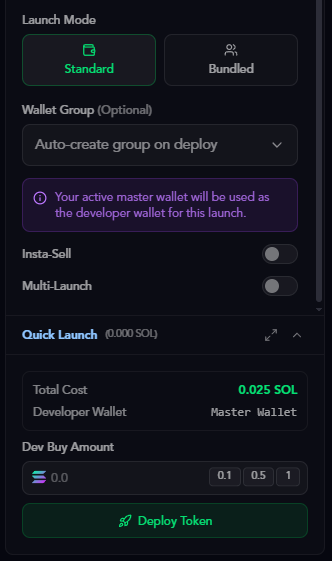
You can switch between multiple master wallets or add new ones. Learn more in the Master Wallets guide.
Bundled Launch
Deploy with multiple wallets for instant distribution and volume. There are three modes: safe, instant, and delayed.Wallet Group Selection
Choose a wallet group or auto-create one on deployment.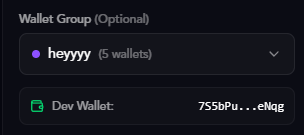
- Auto-create group on deploy (Recommended): Automatically creates a new wallet group when deploying
- Select existing group: Choose from your wallet groups and pick a dev wallet
Sniper Wallets
Configure how many wallets from your group will participate in the bundled launch (0 to max group size). Use the slider to select how many wallets should snipe the token at launch.Insta-Sell
Automatically sell tokens after purchase to create initial volume and trading activity.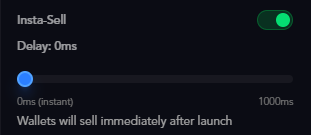
- Enable Insta-Sell: Toggle on to activate
- Delay: Set delay in milliseconds (0ms for instant, up to 1000ms)
- 0ms = instant sell
- Higher values = delayed sell
Insta-sell creates realistic trading patterns by having wallets buy and immediately sell tokens.
Multi-Launch
Launch the same token multiple times with different dev wallets, combining with insta-sell for maximum effect.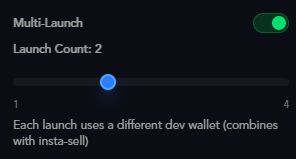
- Enable Multi-Launch: Toggle on to activate
- Launch Count: Number of separate launches (1-4)
Developer Buy Range
Set a randomized buy amount for the developer wallet on each launch.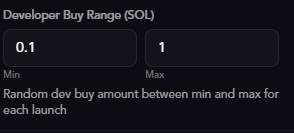
- Min: Minimum SOL to buy (e.g., 0.1 SOL)
- Max: Maximum SOL to buy (e.g., 1 SOL)
Quick Launch Configs
Save your deployment settings as presets for instant reuse. Perfect for repeating the same strategy across multiple token launches.Creating a Quick Launch Config
Click Add Config in the Quick Launch section to create a new preset.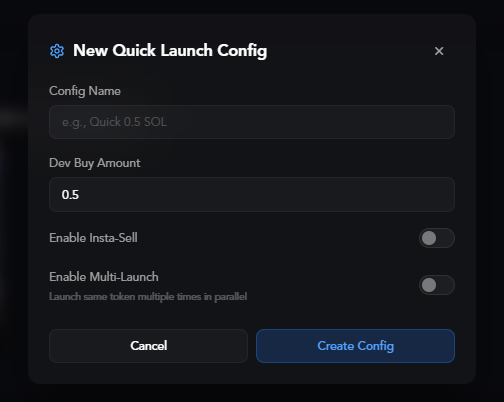
- Config Name: Name for this configuration (e.g., “quick 0.5 SOL”)
- Dev Buy Amount: Default SOL amount to buy on launch
- Enable Insta-Sell: Toggle on to enable automatic selling after purchase
- Enable Multi-Launch: Toggle on to launch multiple times in parallel
With Advanced Options
When you enable Insta-Sell and Multi-Launch, additional options appear: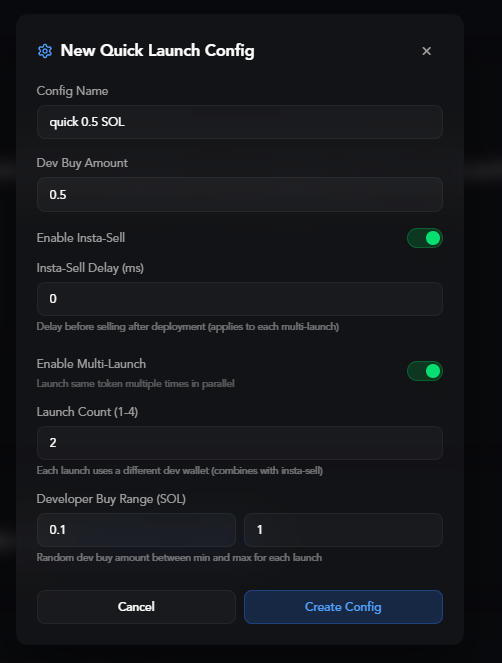
- Insta-Sell Delay (ms): Delay before selling after deployment (0 for instant)
- Launch Count (1-4): Number of parallel launches
- Developer Buy Range (SOL): Randomized buy amount between min and max
Using Saved Configs
Your saved configs appear in the Quick Launch section for instant deployment.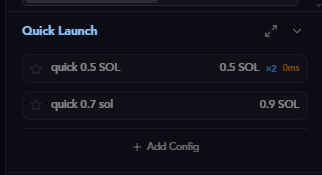
- Config name
- Dev buy amount
- Configured delay (if using insta-sell)
- Click a config to instantly apply those settings to your current deployment
- Star a config to activate it for quick deployment from your Twitter feed
Quick Launch from Twitter Feed
When you star/activate a Quick Launch config, a thunderbolt icon appears when hovering over tweets in the Twitter Tracker. Click the thunderbolt to instantly deploy that tweet using your starred config’s settings—no manual configuration needed. This is perfect for rapid-fire deployments when you spot trending content.Only one Quick Launch config can be starred at a time. The starred config is used for all thunderbolt deployments from your Twitter feed.
Deploying Your Token
Once everything is configured:- Set up your token information and launch settings
- Optionally select a Quick Launch config for instant setup
- Click the Deploy Token button
- Wait for the transaction to confirm
- Your token is now live!
- View your token on the selected platform
- Share the contract address with others
- Generate additional volume using your wallet groups
- Track performance on your dashboard
Ready to track tokens from Twitter? Learn how to use the Twitter Tracker to deploy tokens in one click from your feed.